"How to master the art of sourdough baking at home"
Sourdough baking has been a cherished tradition for centuries, offering a unique flavor and texture that cannot be replicated with commercial yeast. Mastering the art of sourdough baking at home allows you to create delicious, artisanal bread that is both satisfying to make and delightful to eat. This guide will provide you with detailed explanations, step-by-step instructions, pro tips, and answers to common questions, helping you embark on a rewarding journey into the world of sourdough baking.
Detailed Explanation
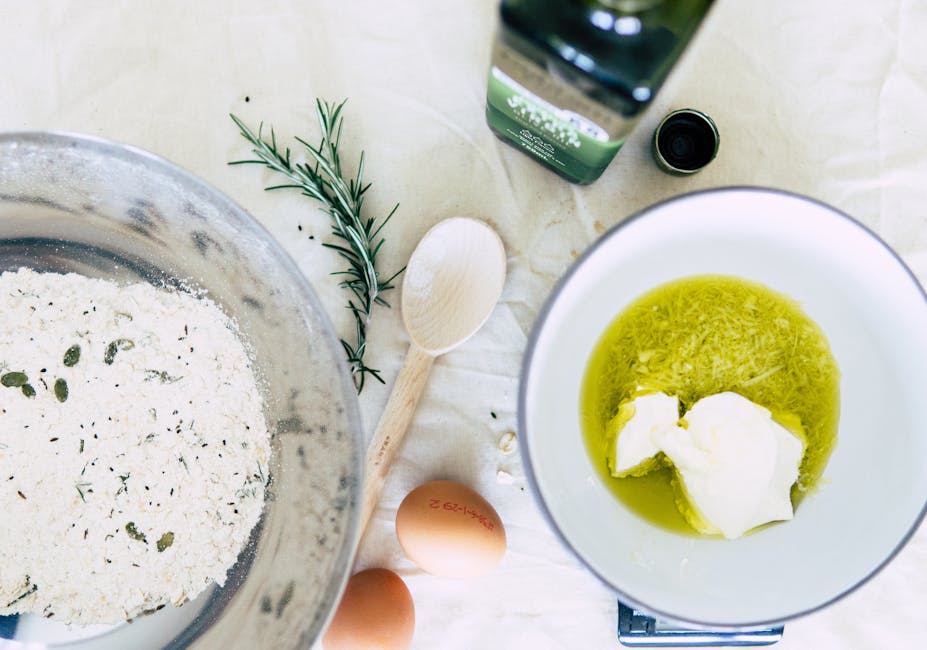
When it comes to sourdough baking, the key ingredient is the sourdough starter. This naturally fermented mixture of flour and water is alive with wild yeast and lactobacilli, which provide leavening and flavor to the bread. Cultivating a healthy and active sourdough starter is crucial for successful baking. Additionally, understanding the fermentation process, proper kneading techniques, and the impact of different flours on the final product will elevate your sourdough baking skills.
Step-by-Step Implementation
- Creating a sourdough starter: Combine equal parts of flour and water in a jar, stir well, and let it sit at room temperature. Feed the starter daily by discarding some and adding fresh flour and water until it becomes bubbly and active.
- Mixing the dough: In a bowl, combine flour, water, and a portion of the sourdough starter. Add salt and mix until a shaggy dough forms. Allow the dough to rest for autolyse, which improves gluten development.
- Folding and shaping: Perform a series of stretch and folds to develop the dough's structure. Shape the dough into a round or oblong loaf, creating surface tension for a better rise. Proof the shaped loaf in a floured basket or bowl.
- Baking: Preheat the oven with a Dutch oven inside to create steam. Carefully transfer the proofed dough into the hot Dutch oven, score the top, and bake with the lid on. Remove the lid halfway through baking for a crispy crust.
- Cooling and storing: Allow the freshly baked sourdough bread to cool completely on a wire rack before slicing. Store the bread in a cotton bread bag or paper bag at room temperature for optimal freshness.
Pro Tips and Best Practices
- Keep your sourdough starter at room temperature for daily feeding and in the fridge for weekly maintenance.
- Use a kitchen scale to measure ingredients accurately for consistent results in sourdough baking.
- Avoid overproofing the dough by monitoring the rise and conducting the poke test to determine readiness for baking.
- Experiment with different flour combinations, such as rye or whole wheat, to enhance the flavor profile of your sourdough bread.
- Common mistakes to avoid include using chlorinated water, skipping the resting periods, and rushing the fermentation process, which can result in flat or dense loaves.
Frequently Asked Questions
How often should I feed my sourdough starter?
It is recommended to feed your sourdough starter daily if kept at room temperature. If stored in the fridge, weekly feeding is sufficient to maintain its activity.
Why is my sourdough bread dense?
A dense sourdough bread could be the result of overproofing the dough, lack of gluten development, or using too much whole grain flour. Adjusting the fermentation time and incorporating proper kneading techniques can help improve the bread's texture.