
How to create stunning DIY resin art for beginners.
Resin art has gained popularity in recent years for its versatility and ability to create stunning pieces of art. For beginners, diving into the world of resin art can be both exciting and intimidating. This guide will provide you with the essential steps and tips to help you create beautiful resin art pieces even if you're new to the craft.
Detailed Explanation
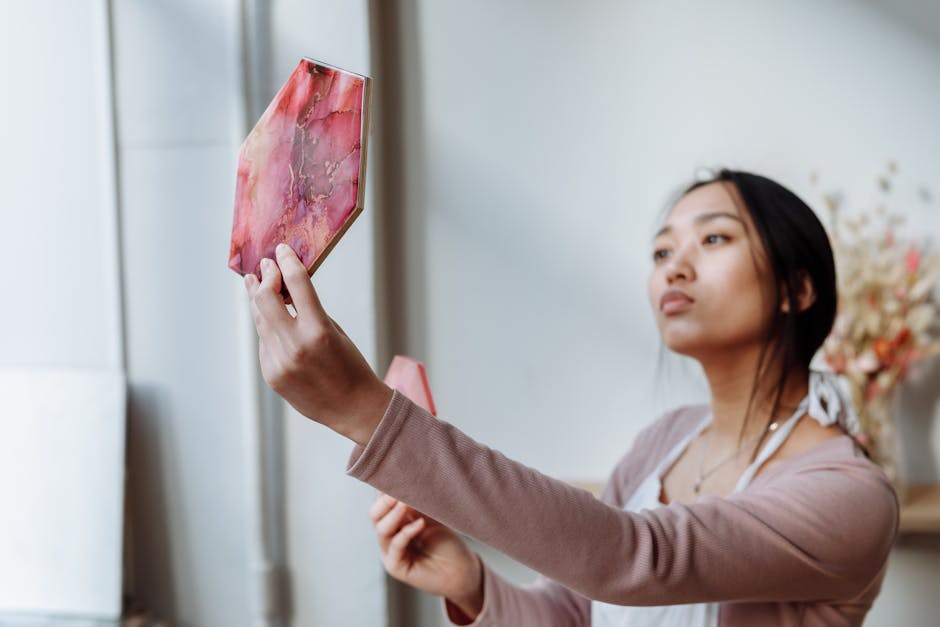
Resin art involves using epoxy resin to create beautiful, glossy finishes on various surfaces like canvas, wood, or even furniture. The process typically involves mixing resin with a hardener, adding pigments or dyes for color, and pouring the mixture onto a surface to create unique designs. One of the key aspects of resin art is the curing process, where the resin hardens and creates a durable finish.
As a beginner, it's essential to start with small projects to familiarize yourself with the materials and techniques. Experiment with different colors, techniques like resin pouring, and incorporating other elements like glitter or dried flowers to create one-of-a-kind pieces. Practice is key when it comes to resin art, so don't be afraid to make mistakes and learn from them.
To achieve stunning results in resin art, pay attention to the mixing ratio of resin and hardener, as well as the curing time. It's crucial to follow the manufacturer's instructions carefully to ensure the resin cures properly and creates a durable finish. Additionally, consider investing in quality resin and pigments to achieve vibrant colors and professional-looking results.
Step-by-Step Implementation
- Prepare your workspace by covering surfaces with a plastic sheet or silicone mat to protect them from resin spills.
- Mix the resin and hardener according to the manufacturer's instructions in a well-ventilated area to avoid fumes.
- Add desired pigments, dyes, or other additives to the resin mixture and stir gently to avoid creating bubbles.
- Pour the resin onto your chosen surface and use a heat gun or torch to remove any air bubbles for a smooth finish.
- Allow the resin to cure for the recommended time before handling or moving the artwork to prevent smudges or imperfections.
Pro Tips and Best Practices
- Use a torch or heat gun to pop air bubbles in the resin for a smooth finish.
- Experiment with different techniques like resin pouring, resin casting, or resin geode art to create unique pieces.
- Avoid overmixing the resin to prevent it from curing too quickly or creating bubbles in the mixture.
- Protect yourself by wearing gloves, a mask, and eye protection when working with resin to avoid skin irritation or allergic reactions.
Frequently Asked Questions
Common question 1: How long does resin art take to cure?
The curing time for resin art varies depending on the type of resin used and environmental factors like temperature and humidity. Typically, resin art can take anywhere from 24 to 72 hours to cure completely.
Common question 2: Can I use resin art on different surfaces?
Resin art can be used on various surfaces like canvas, wood, glass, or even furniture. It's essential to prepare the surface properly before pouring resin to ensure adhesion and a smooth finish.